In this blog, we delve into the critical importance of implementing proper backup and data protection measures within Azure DevOps, drawing a clear distinction between operating without backups versus with backups. Simply illustrating a scenario where an organization falls victim to a malicious actor’s infiltration, resulting in the compromise and deletion of crucial data from their Azure DevOps instance, akin to the unfortunate incident experienced by Microsoft in 2022. The consequences are preventative, ranging from operational disruptions and intellectual property theft to compliance violations and reputational damage.
With one social engineering attack, a malicious actor gains access to your Azure Devops instance.
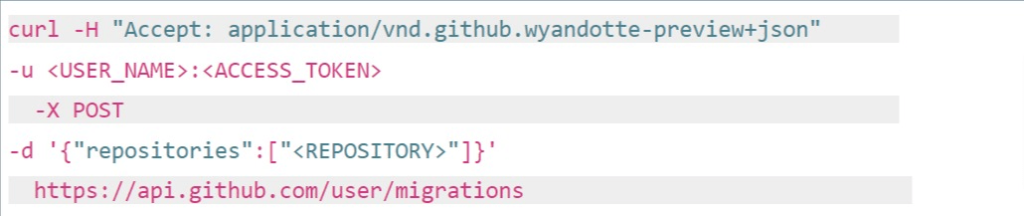
Just ask Microsoft who had exactly this happen to them in 2022.
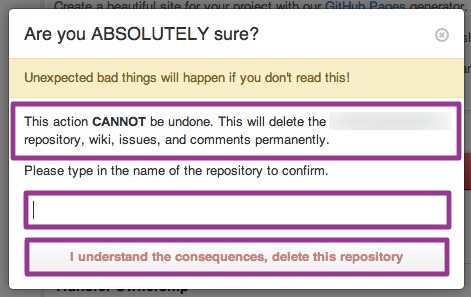
With nefarious intent, the actor downloads your critical data and proceeds to delete it from your Azure DevOps instance.
In a blink of an eye, your organization’s valuable IP is compromised, and the attacker demands a hefty ransom for their return. Without any backups, you’re left scrambling to mitigate the damage and facing the daunting prospect of paying the ransom and losing crucial data. And that is not all. Your organization faces the consequences of:
- Data Breach
- Operational Disruption
- Intellectual Property Theft
- Compliance Violation
- Financial Loss
- Reputational/brand damage
Without any DevOps backup:
1. A malicious actor gains access to Azure DevOps. They can do this by:
- Phishing Attacks
- Credential Theft
- Social Engineering
2. They download all data and delete it from Azure DevOps.
- The ease of such an attack ultimately depends on the effectiveness of the organization’s security measures and the attacker’s capabilities.
3. They are in a position of power to demand a ransom and compromise code.
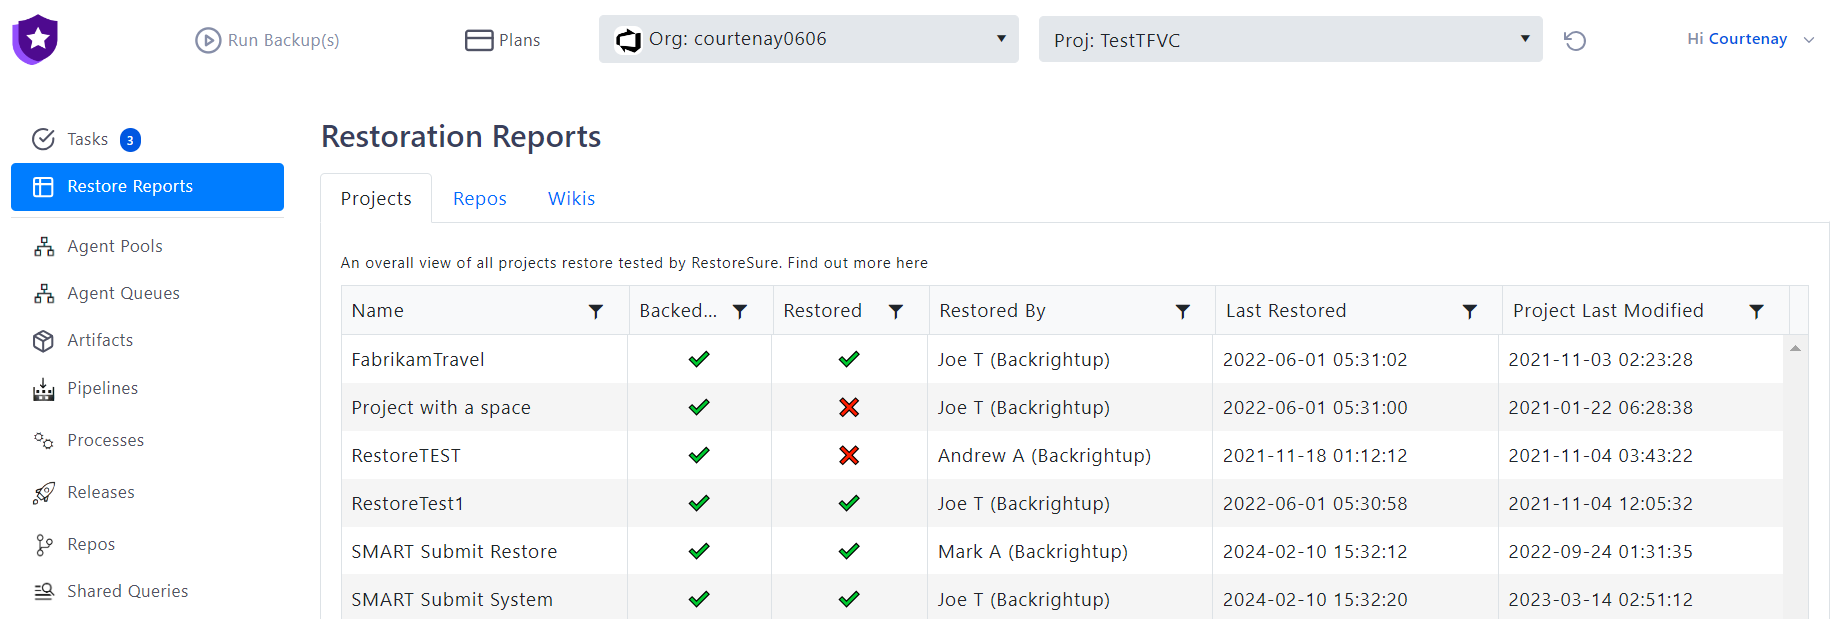
Now, let’s consider the concept with Azure DevOps backup and data protection from Backrightup:
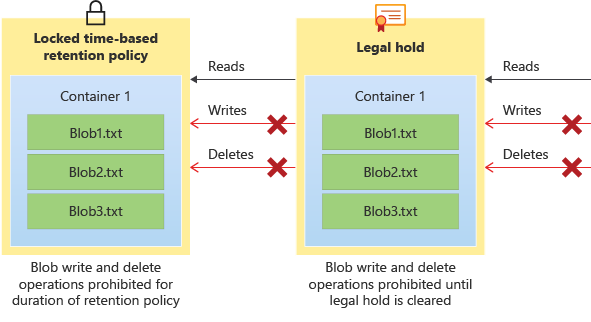
1. As a customer, you set up your Azure storage to enable the WORM (Write-Once, Read-Many) state – learn more at Microsoft’s documentation.
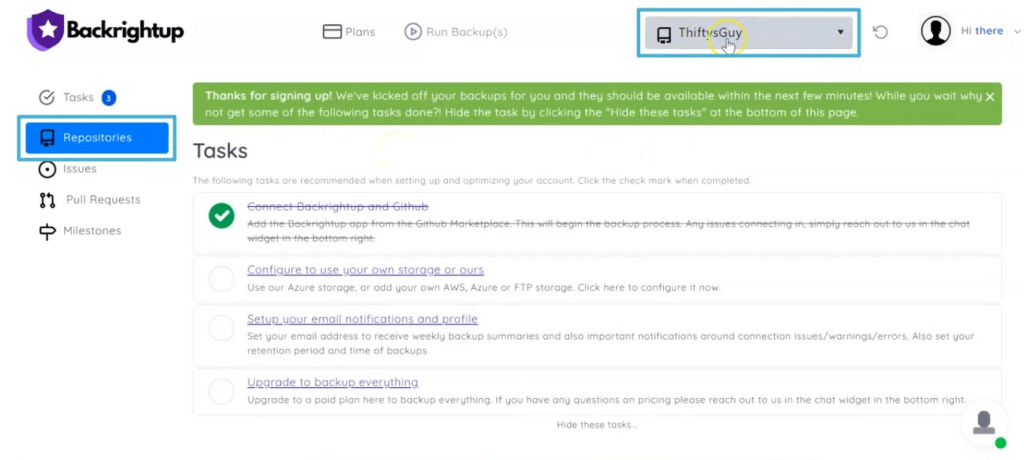
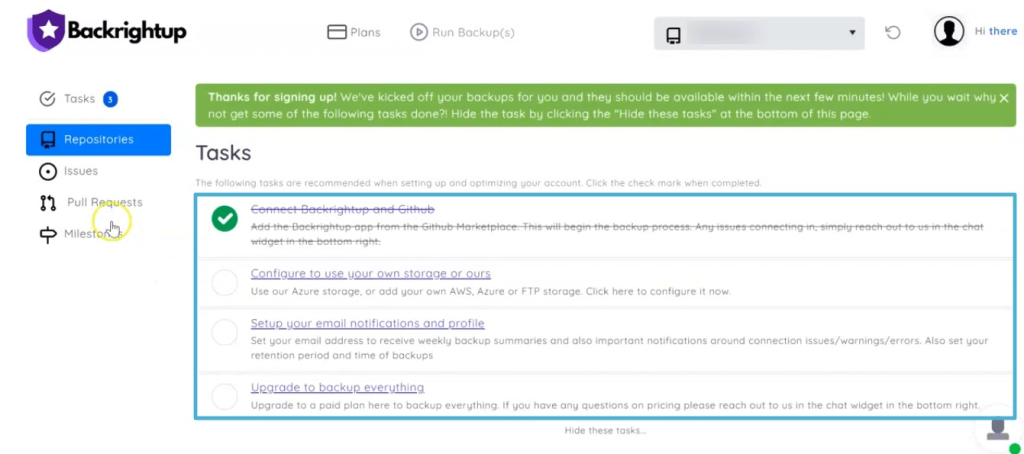
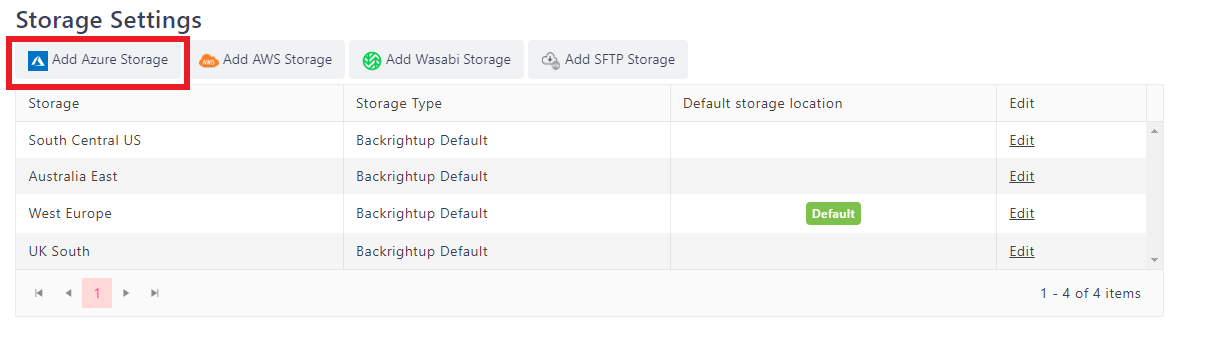
2. Add the storage to Backrightup, and your backups run daily. This is enabled in a few simple steps.
3. If a malicious actor deletes your Azure DevOps data you have your backups to restore from. In the case where they gain access to the backups themselves, with backup immutability via Azure storage, also known as WORM, even if they access your Azure storage (where the backups are stored), they cannot delete from it as it’s write-only (non-deletable).
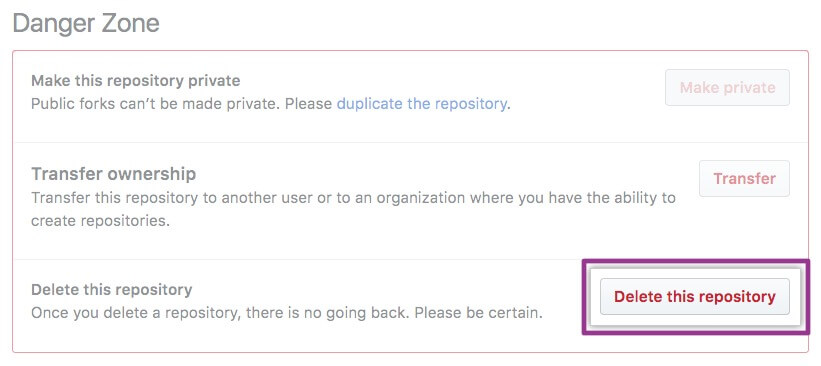
Bulletproof Azure DevOps
It’s a quick and easy way, not to mention proven by the world’s largest organizations. The immediate strength of Backrightup with Azure Storage WORM state and making these simple changes include:
- Mitigating Data Breach Risks and Operational Disruption: Setting up Azure storage with WORM state and integrating it with Backrightup for daily backups ensures that even if a malicious actor deletes critical data from Azure DevOps, the backups remain intact and non-deletable.
- Safeguarding Against Intellectual Property Theft and Compliance Violations: Prevents potential data breaches and operational disruptions but also protects against intellectual property theft and compliance violations by ensuring data integrity and regulatory compliance.
- Minimizing Financial Loss and Reputational Damage: In a ransomware attack, retaining backups helps minimize the risk of financial loss and reputational damage associated with paying the ransom or public disclosure of the attack.
Enhancing Resilience Against Cyber Threats: Enhance the ability to maintain data integrity, regulatory compliance, and stakeholder trust.
Conclusion:
The reality without backups, organizations are left vulnerable, scrambling to mitigate the fallout and potentially facing hefty ransom demands. Conversely, with Azure DevOps backup solutions like Backrightup, paired with Azure storage’s WORM (Write-Once, Read-Many) state, organizations can bulletproof their defenses. By seamlessly integrating daily backups and leveraging immutability features, they can effectively mitigate data breach risks, safeguard against IP theft and compliance violations, minimize financial losses, and enhance resilience against evolving cyber threats. The transformative power of embracing Azure DevOps backups underscores a pivotal decision in safeguarding your organizational assets and integrity, in a few steps.
Thankfully we are seeing more and more Azure DevOps leaders looking at ways to protect their most critical IP. For more information on how to protect Azure DevOps get in touch.