If you want to learn how to backup GitHub repository, this guide is for you.
Have you ever had that mini-heart attack because your GitHub repository and data disappeared or corrupted?
If you have, you know how devastating it is to lose all your business-critical codes and data, pouring all your team’s hard work down the drain.
One solution is regularly backing up your GitHub repository to help keep your data and codes secure and intact.
Continue reading to know more about the top three main ways to run a GitHub backup.
1. GitHub Issues API
Use curl to access the GitHub issues API within your terminal with this general form of the request:
GET /repos/<OWNER>/<REPOSITORY>/issues
Use your GitHub username as the <OWNER> and project name as the <REPOSITORY>.
Customize the query with parameters such as sort. It allows you to determine how to organize the state (if you only want open Issues) or data.
Start simple by using the three required parameters: “repository,” “owner,” and “accept.”
The “accept” parameter should be your application/vnd.github.v3+json custom media type. It ensures that the custom reactions get included in your results.
The entire curl request should look like this:

You won’t need to include your API key in the request since the Octocat Hello World repository is publicly visible.
If you try to access a private repository using the command, the response will show:

You’ll have to follow GitHub’s instructions to generate a personal access token. Then, add it to the curl request like this:

Another way to grab a lot of data like this is to save it directly within a file. Add > <FILENAME> at the end of your cure request, so it looks something like this:

When you’re done, your curl will create a new JSON file backup for your GitHub issues.
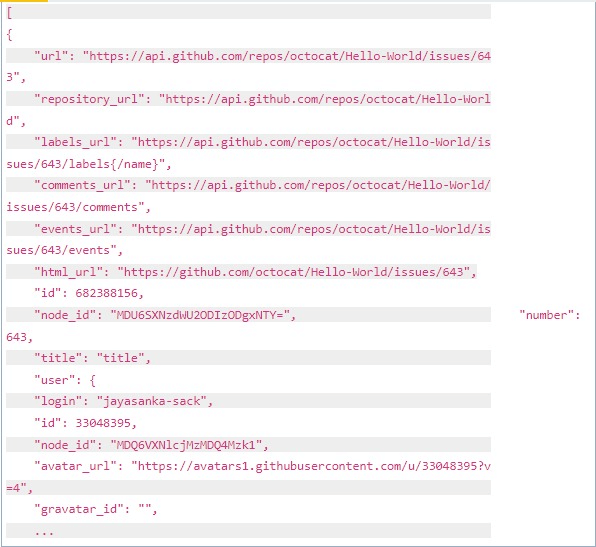
Using the GitHub Issues API doesn’t require additional software, and it’s free (unlike most backup tools).
However, the process involves manual work that takes additional steps to automate or schedule.
The Pull Requests and Issues can get mixed together, and configuring and managing API token access can be time-consuming and tedious.
Plus, it can take multiple calls to download Issues from various repositories.
2. GitHub Migrations API
The GitHub API previews program allows migrations and lets developers test new APIs before officially becoming part of the GitHub API.
The Migration API is intended to download repositories from your GitHub organization or user account to back up, review, and migrate your data to the GitHub Enterprise Server.
Go to your GitHub account settings and the Personal Access Tokens page.
Click Generate a personal access token and add a note to remind you why you generated the token.
Then, tick the repo box beside “Full control of private repositories” and select Generate Token.
You should get a ~40 character alphanumeric string that allows you to access private repositories through the GitHub API.
Ensure you save your new token since GitHub won’t display it again. You’ll need to re-generate a new token if you can’t find your existing one.
Next, start your migration.
Starting migration requires a request in POST /user/migrations {“repositories”: [<LIST_OF_REPOSITORIES>]} form.
In the first method, we mentioned the custom media type.
However, since the Migration API is currently in the preview period, you must set the value to:
application/vnd.github.wyandotte-preview+json
A sample curl command can look like this:

Input the <REPOSITORY> name (or multiple repository names separated by commas) that you wish to backup.
You’ll also need to provide your GitHub access token and username to begin the migration. Take note of the migration ID from the response since you’ll need this in the final step.
Finally, download your migration.
Use the previous step’s migration ID to retrieve the URL for downloading your migration.
Open the migration URL in your web browser’s response to begin the download. You can also modify the curl command to download the migration to your filesystem directly.

The -L flag informs the curl to follow redirects, while the -o flag specifies where to send the output file.
You should see the migration_archive.tar.gz within your home directory if there are no issues.
Running a GitHub enterprise backup for free and without installing a third-party tool has its benefits, but it’s also crucial to make the process as efficient as possible.
However, configuring and managing API taken access can be a hassle since it’s a manual process that requires additional steps for scheduling and automating.
3. Reliable GitHub backup solution
One of the easiest and quickest ways to back up your GitHub repositories is to use a reliable GitHub backup service such as Backrightup.
The flexible platform and service can automate your GitHub repository backups and restore.
Use Backrightup to run your GitHub repository backups with the quick and easy steps below.
Step 1: Sign up or log in to Backrightup
Register for a Backrightup account (or sign in if you already have an account).
Click Get Started.
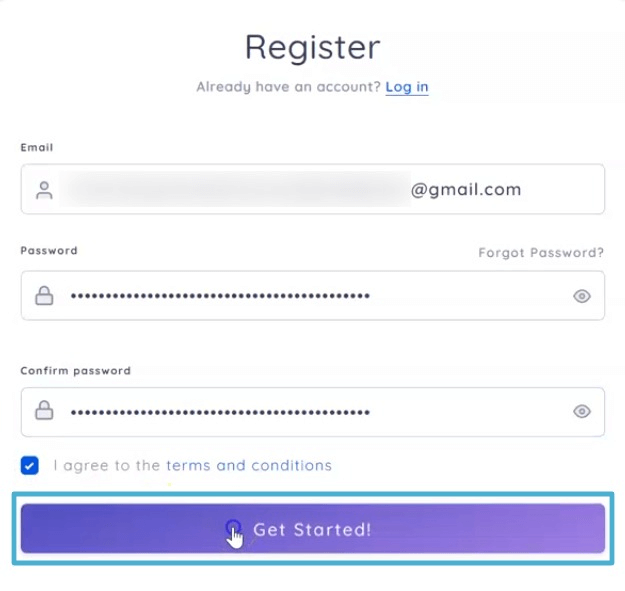
Step 2: Setup and connect Backrightup
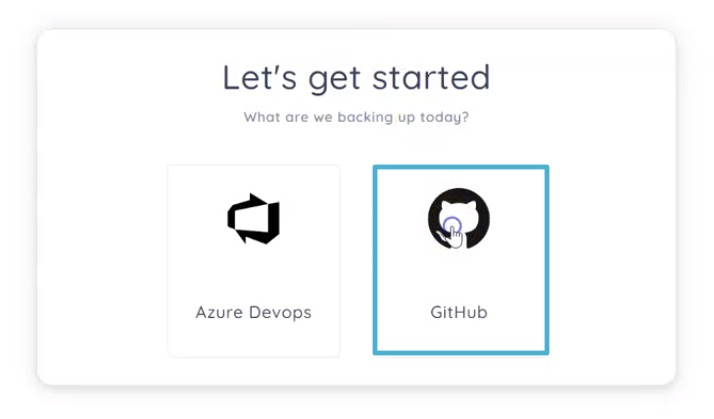
Select GitHub to back up.
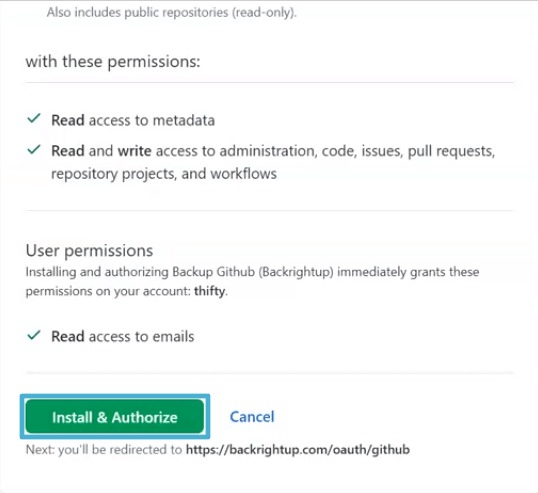
Install and authorize the GitHub app to get access to run your backups.
Provide the requested information, such as your current role in your organization and why you signed up for Backrightup.

Click Save and Continue.
Backrightup’s system will start running the backups in the background.
Within a few minutes, you should see your organizations and repository backups appearing in the Backrightup interface.
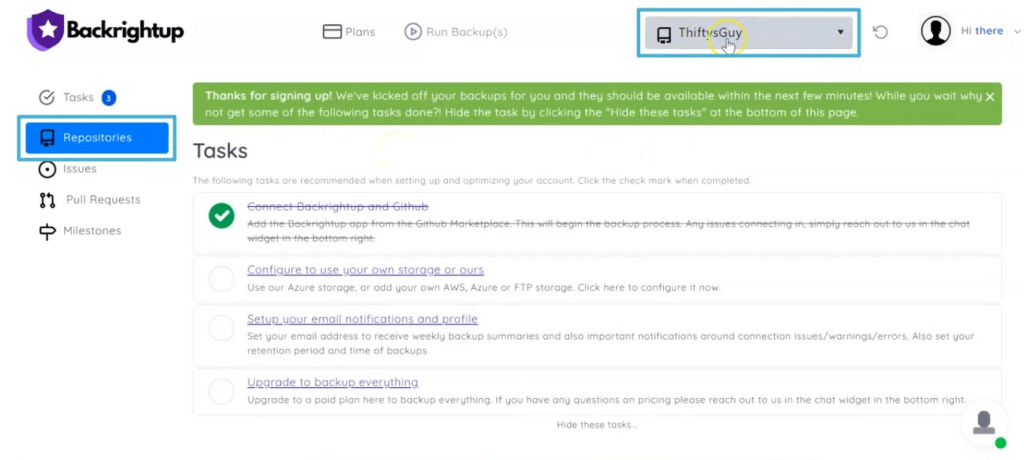
That’s pretty much the whole process of backing up your GitHub repository.
Backrightup recommends tasks you can do while waiting for the system to finish your backup.
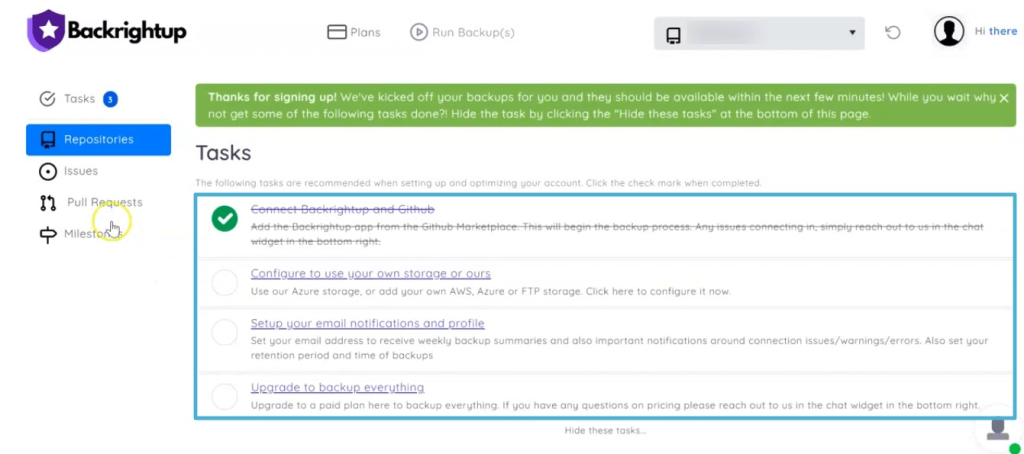
Running GitHub repository backups with Backrightup is simple, fast, and reliable.
It allows you and your team to focus on more pressing tasks while streamlining your backup workflows.
Keep your GitHub repository safe and secure with backups
While there are several ways to back up your GitHub repository, opt for the most seamless and hassle-free method.
Quick, easy, and robust backups help keep your GitHub repositories safe in case of data loss and breaches from human error, malware, server crashes, and other issues.
