GitHub compliance can be tricky to nail.
After all, compliance programs come with multiple requirements and complexities, depending on your target industry and the data being managed.
And so the question becomes…
How do you achieve GitHub compliance, and what are the steps to assess and execute GitHub’s security features effectively?
Start by learning the basics of GitHub compliance and its common essential areas—which we’ll cover in this guide.
Let’s dive right in.
1. Data location
When incorporating GitHub into your organization, a critical compliance decision is whether to use GitHub’s Enterprise option to self-host or the platform’s hosted SaaS service.
It’s vital to decide on the hosting options from the get-go since your data location and the types of data you store on GitHub can impact your compliance with regulatory requirements.
For instance, many compliance programs require storing information, such as customer data, and running a GitHub backup on hosted services with specific security features.
Others can also require using certain data storage and classification of configuration data, source code, infrastructure diagrams and documentation, and other sensitive information.
Deciding on hosting options can help determine if specific regulatory requirements prohibit using GitHub’s hosted services.
The factors impacting your decision include your internal support criteria, uptime and operational requirements, and other aspects.
2. User management and access control
Compliance requirements are often particular with how services are accessed, who has access to them, and managing that access.
The requirements can also include processes to revoke access when necessary.
GitHub Settings can help you directly address these concerns.
GitHub Enterprise plan subscribers can deploy Single Sign-On (SSO) authentication via SAML-compliant identity providers.
The option allows managing your organization’s access to GitHub using the existing providers instead of re-implementing directly within GitHub.
It eliminates another combination of username and password, which can be easily lost or compromised without proper management.
Also, sending user management to external identity services removes a huge part of routine and necessary access review checks.
For instance, you can delegate it to a federated identity provider instead of routing most of SOC II’s quarterly user access reviews to the managing GitHub team.
However, without SSO, the checks can turn into time-consuming, manual tasks to review hundreds (or thousands) of users within your GitHub organization.
If you do user management directly in GitHub, enforce two-factor authentication (2FA) at the organization level.
You can do this through the GitHub organization settings pages to ensure that every user accessing the GitHub organization uses 2FA to log in.
IP address restriction is another GitHub Enterprise feature that can reduce the scope of access reviews for compliance and improve security.
The Enterprise plan lets you upload a list of IP addresses, such as a VPN egress or office address. GitHub uses these to restrict access to your GitHub organization, including your associated repositories.
While this isn’t meant to provide sufficient control, it can significantly reduce potential attack surfaces in case your user credentials get compromised.
Finally, while using groups for user access management isn’t required by most compliance programs, it can greatly reduce the burdens of access review and management.
After all, without it, validating access to hundreds of code repositories when users are added as contributors instead of groups as contributors can be complex and tedious.
GitHub supports managing users through teams (group membership), but it’s easier to enforce access via direct access as a user.
To ensure compliance, you’ll need to validate this control during quarterly access reviews and when automating with GitHub’s APIs.
3. Role-based access controls
GitHub includes a built-in Role-Based Access Control (RBAC) system. It ensures granular access to your repositories and settings, including GitHub repository backup.
Users who are added to your GitHub organization can be:
- Owners who are administrators with full access to your organizations, settings, source code, and other users.
For security and compliance, it’s best to keep owners to a minimum while ensuring at that least one owner is available to deal with urgent setting changes and other essential activities.
- Members who should be private to help prevent social engineering attacks that target specific users according to known organization associations.
You can add members to repositories under five roles—from Read (basic read-only role) to Administrator (full access role).
However, instead of adding members to your repository directly, you can invite them to a team that can have the same roles as the repository.
It’s easier to maintain user access while reducing unintended over-provisioning that exposes your organization to risks and even leads to non-compliance.
4. Auditing
Logging all access to your systems is fundamental in most compliance programs and other systems, such as when running a GitHub Enterprise backup.
An access log is critical in assessments after security incidents and disaster recovery. It can show who accessed your system, the request’s origin, and the data accessed.
All this information is crucial to recovering any data losses or breaches after an incident and maintaining compliance.
GitHub’s detailed audit logging with timestamps, usernames, accessed resources, and IP addresses can help your auditing, compliance, and security needs.
5. Third-party access
Besides users, other entities can get access to GitHub.
OAuth integrations, API integrations, webhooks, and third-party apps such as a GitHub backup service can gain various access levels to GitHub’s repository source code and settings.
To improve security and maintain compliance, you’ll need to limit third-party access, including developing a tight scope and conducting regular audits.
Apps and services from other providers are not owned or maintained by GitHub. You are responsible for ensuring they don’t compromise your organization and repositories’ compliance and security.
6. Backup and restore
GitHub is generally responsible for backing up its user data and systems.
However, a lot of compliance programs require GitHub and other third-party tool users to have a shared responsibility in the backup and recovery process.
In simple terms, GitHub isn’t likely to permanently lose your data, but you have a compliance obligation to keep backups that can be easily restored in case of emergencies or security issues.
Full adherence to compliance program requirements often means running backups in consistent intervals, off-site or separate hardware or system storage, and regular testing for disaster recovery.
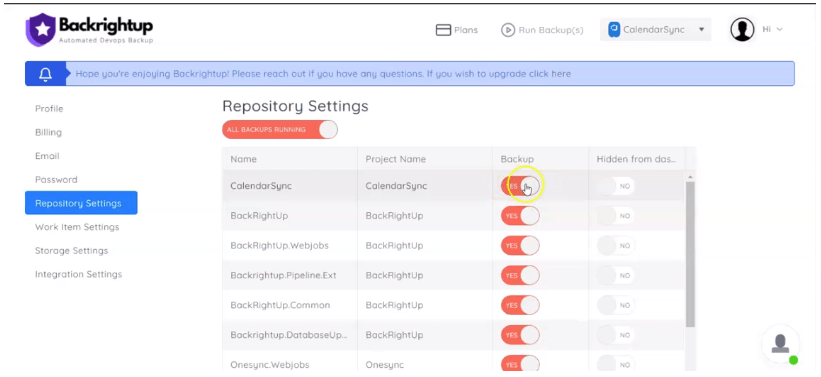
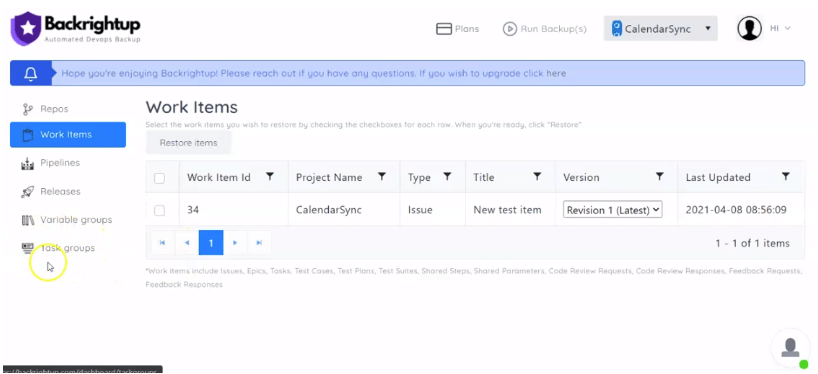
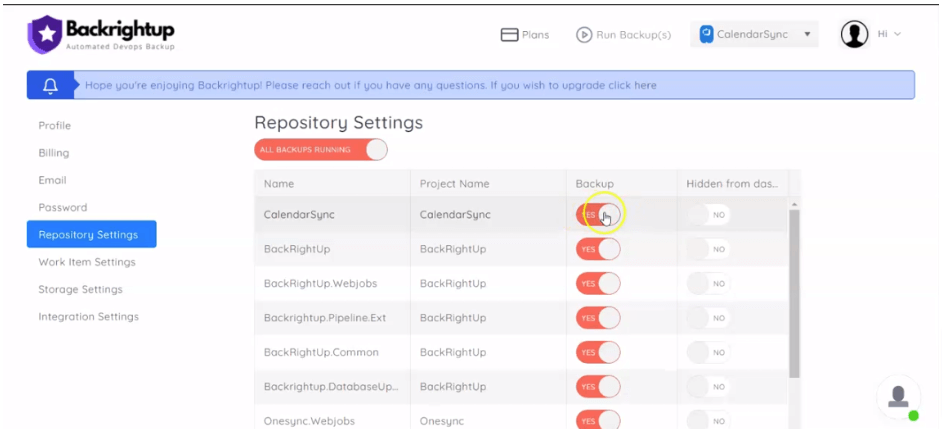
Many compliance programs have various acceptable procedures and timeframes, making it crucial to invest in reliable GitHub backup tools such as Backrightup.
Over to you
Aligning your organization’s compliance requirements with how you use GitHub can be daunting and complex.
However, you can streamline and simplify the process with built-in and third-party options.
Adopting the right solutions and strategies can improve your organization’s security posture, ensuring your data is safe and compliant with regulations and customer expectations.


